CASE STUDIES

SOUNDPROOFING FLOORS

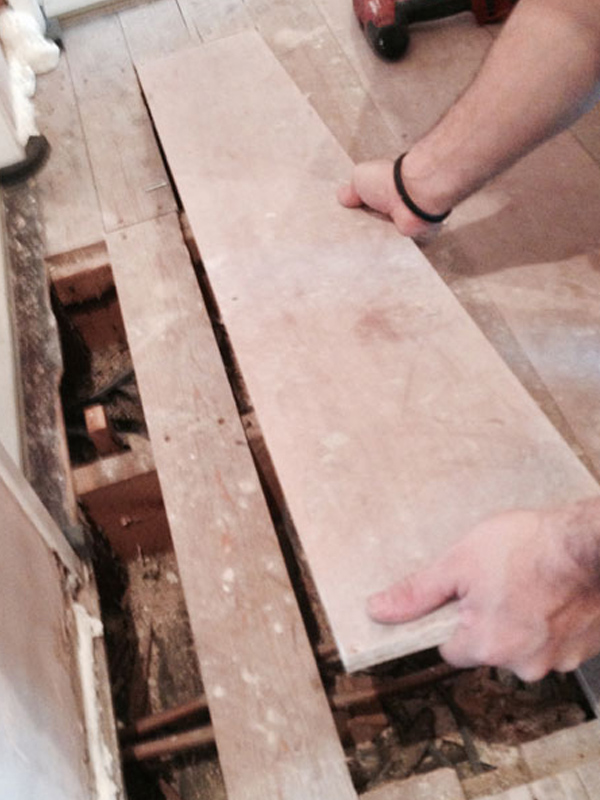
Stage 1: Fixing floor boards before install of acoustic floor

Stage 1:

Fixing floor boards before install of acoustic floor

Stage 2: Fixing floorboards

Stage 2:

Fixing floorboards

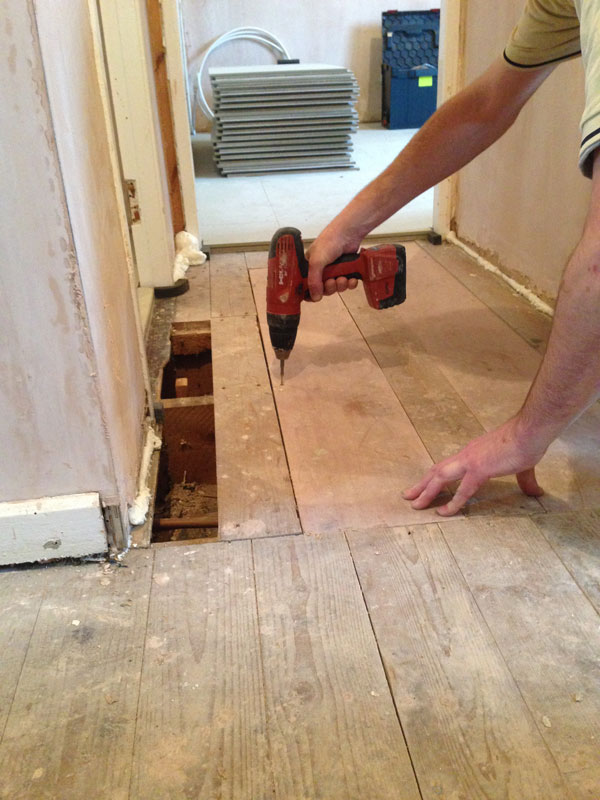
Stage 3: Screwing down replacement floorboards

Stage 3:

Screwing down replacement floorboards

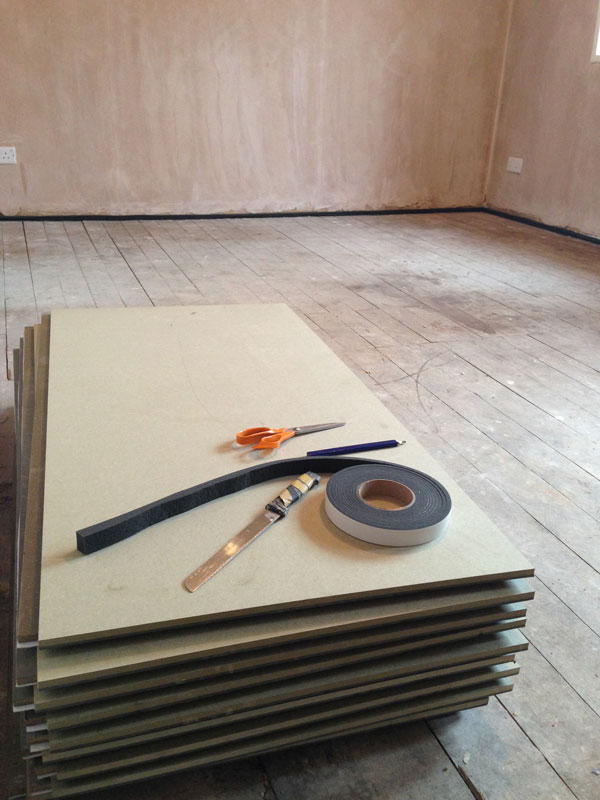
Stage 4: Perimeter tape installed ready for acoustic sealant onto floorboard

Stage 4:

Perimeter tape installed ready for acoustic sealant onto floorboard

Stage 5: Acoustic overlay floor ready to fit

Stage 15

Acoustic overlay floor ready to fit

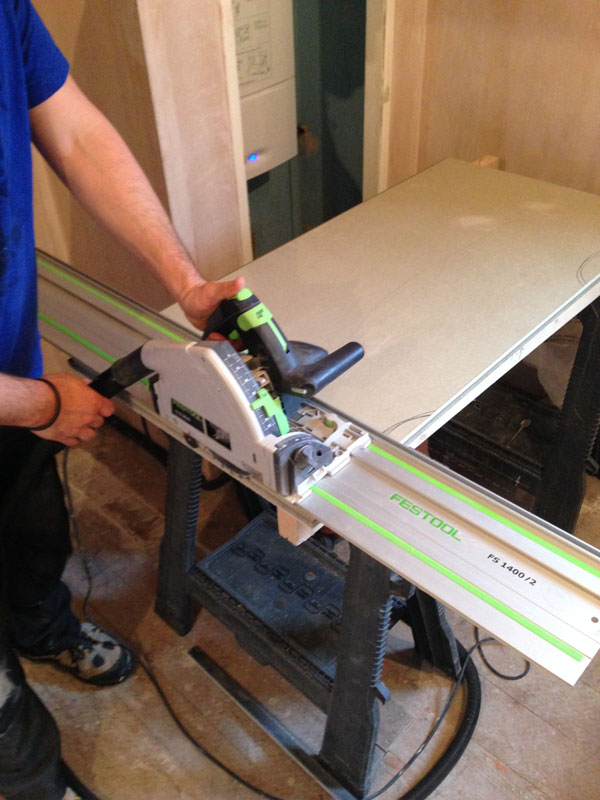
Stage 6: Cutting acoustic flooring with dust extraction

Stage 6:

Cutting acoustic flooring with dust extraction

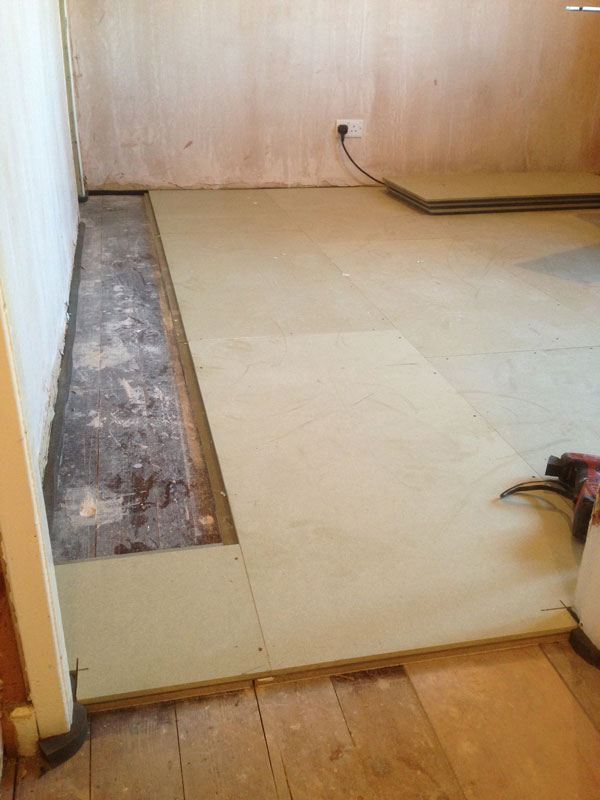
Stage 7: Installing acoustic overlay floor

Stage 7:

Installing acoustic overlay floor

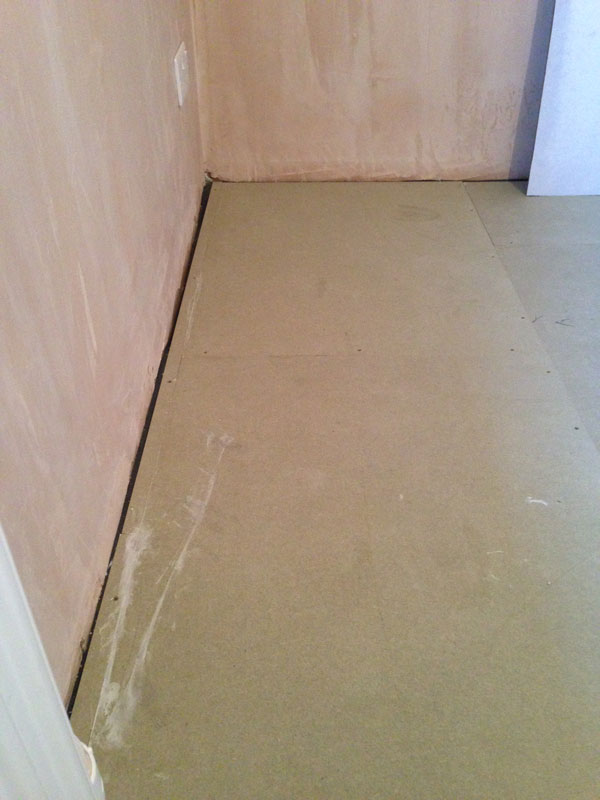
Stage 8: Detail of edge of acoustic overlay board at wall

Stage 8:

Detail of edge of acoustic overlay board at wall

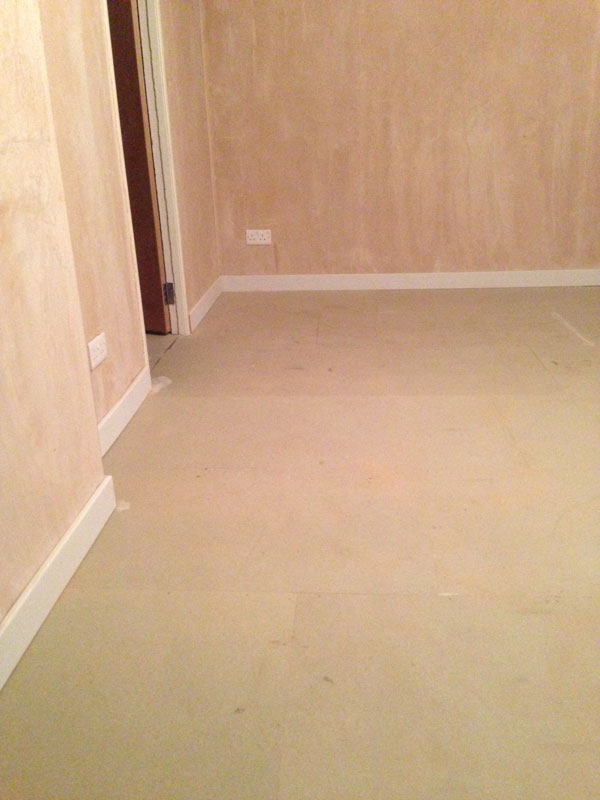
Stage 9: Overlay floor with door

Stage 9:

Overlay floor with door

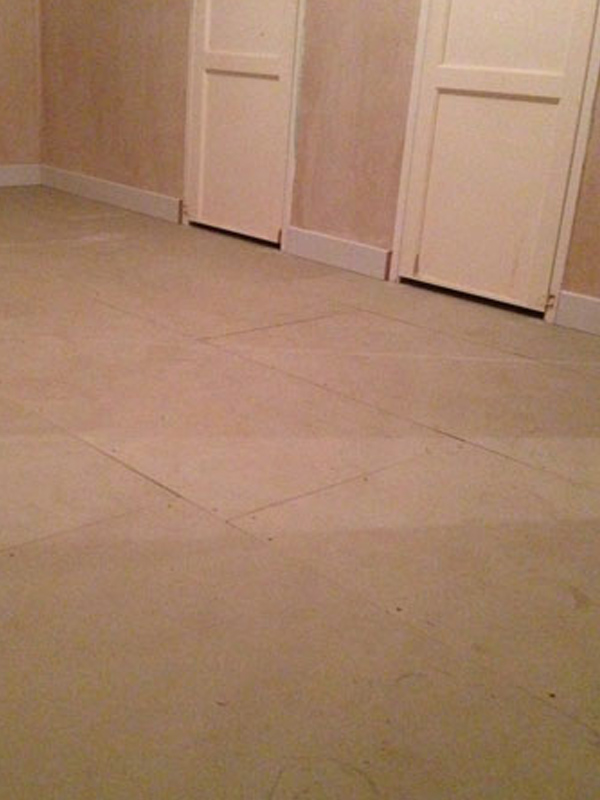
Stage 10: Completed hall with acoustic overlay floor system

Stage 10:

Completed hall with acoustic overlay floor system

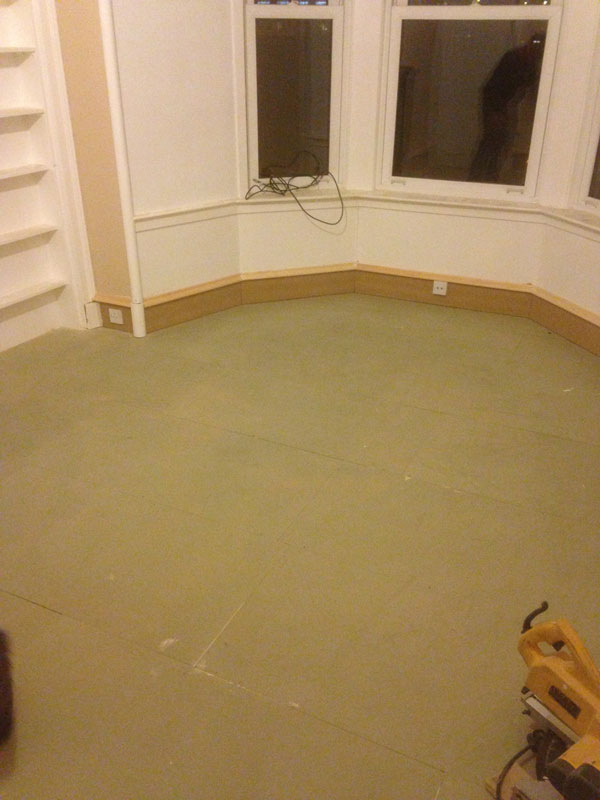
Stage 11: Acoustic overlay floor system complete bay window

Stage 11:

Acoustic overlay floor system complete bay window

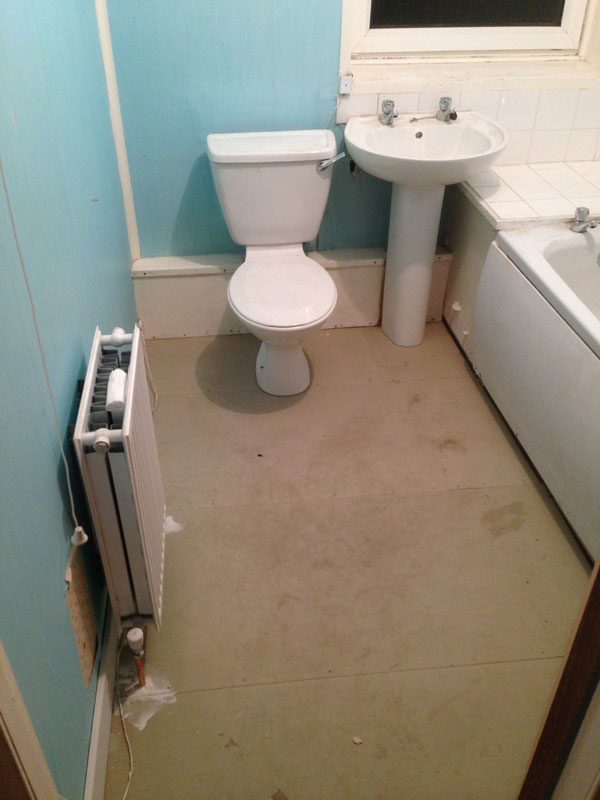
Stage 12: Bathroom reinstalled on to overlay floor

Stage 12:

Bathroom reinstalled on to overlay floor

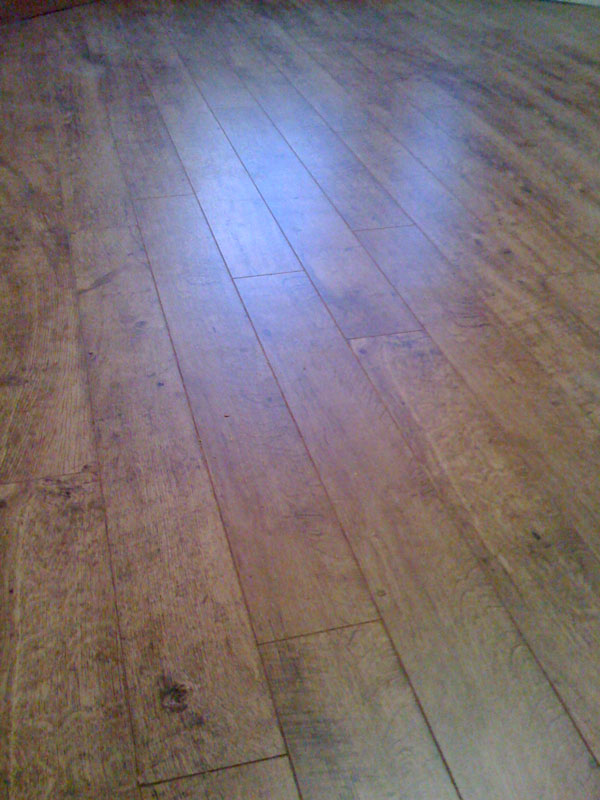
Stage 13: Completed floor

Stage 13:

Completed floor

GET IN TOUCH

    SOUNDPROOFING4U
    8a Castlehill Dr
    Newton Mearns
    Glasgow
    G77 5HY

    Soundproofing4U Logo
    Credit Cards Accepted